When one, as I do, has a lantern fetish...along with that comes a need for candles. Lots of candles. My affinity for lighting the lanterns does tend to wane in the summer time. I feel like the last thing I need to add to the heat and humidity of a typical Maryland summer is one more flame. Rather than spending a chunk of change on the amount of candles it would take me to get through a typical Fall and Winter, I discovered this very simple way to make my own candles. I certainly can't take credit for the idea, but I have refined the process a bit and would like to share it with all of you.
I always shied away from the idea of candle making because it was so crafty and something Martha Stewart probably spends her late nights forcing the mexican slaves on her compound to toil at. (Just kidding Martha, don't be lawyering up on me) Quite frankly it seemed like a real mess. Molds and melting and wax, Oh My! So off to the interwebs I went to find an EASY way to make candles. I found an obscure blog posting about Crock Pot Candles and my salvation had appeared.
It's very simple. This is a great project if you know you're going to be around the house most of the day. It doesn't require constant attention, just a check every now and then. All you need is a large Crock Pot. Mine is a 6 quart oval by Hamilton Beach. Next you need to choose a wax. For my first batch I used a wax I found at Michael's, but since then I order Soy Wax in bulk from Amazon.com which comes in a convenient flake form. It's much easier to choose a wax in flake form or granulated form to work with. Some paraffin waxes come in huge blocks that just wouldn't be easy to work with. You'd have to use a cheese grater on those in order to make them usable for this project. I chose soy wax, not for it's environmental pluses, anyone who knows me knows that I don't give a crud about that. I chose it because it is long burning and really easy to clean up.
Next you need to choose the vessels that will house your wick and wax. I typically use a variety of sizes ranging from a votive to things about 3 inches in diameter. The trick here is to choose containers that will fit your use. I am using mine mainly in lanterns so that means we are looking at smaller, thinner sized vessels. Sometimes to just fill up the Crock Pot, if I need to, I will grab some unusual containers for fun. I also have found that for lantern lighting it is good to use containers that are frosted. They provide a brighter light inside the lantern.
The final item you will need are wicks. My research has found there are tons of wick styles out there. I was lazy so I went with what the craft store had to offer me. The rule of thumb is "Smaller wicks for smaller containers" and vice versa. I chose 2 sizes of wicks, both with the little metal bases pre-attached to them. A "waxed" firm wick is always a good choice because they will stand straighter in your containers. Before my next batch of candles I vow to do some more wick research and in the future I will buy my wicks in bulk and attach the bases to them myself. I am convinced that this has to be cheaper than buying the craft store versions.
Let's talk about scent. I am not a fan of smelly candles. You are welcome to smell up your house to any level you choose. For my purposes I chose 2 very light scents from the craft store…Ocean Breeze and Fresh Linen. The internet also has tons of options, but I am wary of purchasing scents without smelling them prior. (Sorry for that one opened package I didn't like the smell of Michael's) Really, who packages a scent in a blister pack and expects anyone to purchase them "smell un-sniffed"?
Coloring? I don't color my candles. They are being used in lanterns and that extra step would be a waste of time for that purpose. The soy wax in it's raw form hardens to a nice soft white color that is perfect for my use. Please feel free to color your candles till the cows come home. There are many options available for that at the craft stores.
And on to the process..I work on a large glass cutting board on my kitchen island. It's way easier to get any spilled wax off that than it is the countertop. Place your empty Crock Pot on any surface you like. I always do a test fit of the vessels I am planning to use before I begin. It gives me an idea of how many batches I am looking at and lets me play with their placement in the Crock Pot to insure I am getting maximum yield with the fewest number of batches.
Once I have settled on my arrangement, I fill the vessels with the wax, place them in the Crock Pot and crank that sucker up on HIGH.
 |
| Flaky wax goodness |
 |
| Refill, Refill, Refill |
Once all of the vessels are full and melted I turn the crock pot off and let things begin to cool. Now is when you would add any scent you might like to. I go with 4 drops for a votive sized vessel and then up from there for larger ones. I've never used more than 8 drops of scent. Like I said, I don't like smelly candles. My only goal with scent is to slightly cover the wax smell which soy wax has hardly any of. I let everything set for about an hour before messing with the wicks. This allow the wax to congeal slighty, but it's nowhere near actually hardening yet. After the hour has passed I remove the candles to a hard flat surface. They can still be hot, so be careful and use a hot pad or what I do is fold up a few paper towels to grab them with. This serves 2 purposes. First, not all Crock Pots have level bottoms, and no one wants a crooked candle. Also, once out of the Crock Pot, the candles will cool and harden much faster than if they are left in. It's up to you…handle hot wax or have crooked, long-cooling candles. I take the risk, because it's worth it.
Once on the flat surface, it's time to play with wicks. First, make the wick as straight as you can. Then submerge it into the hot wax. Don't worry, it's not going to stay straight up in the hot wax…it never does. I employ toothpicks and wooden kabob sticks to "help" the wick stay where it needs to.
 |
| Look! Two didn't need any help! |
 |
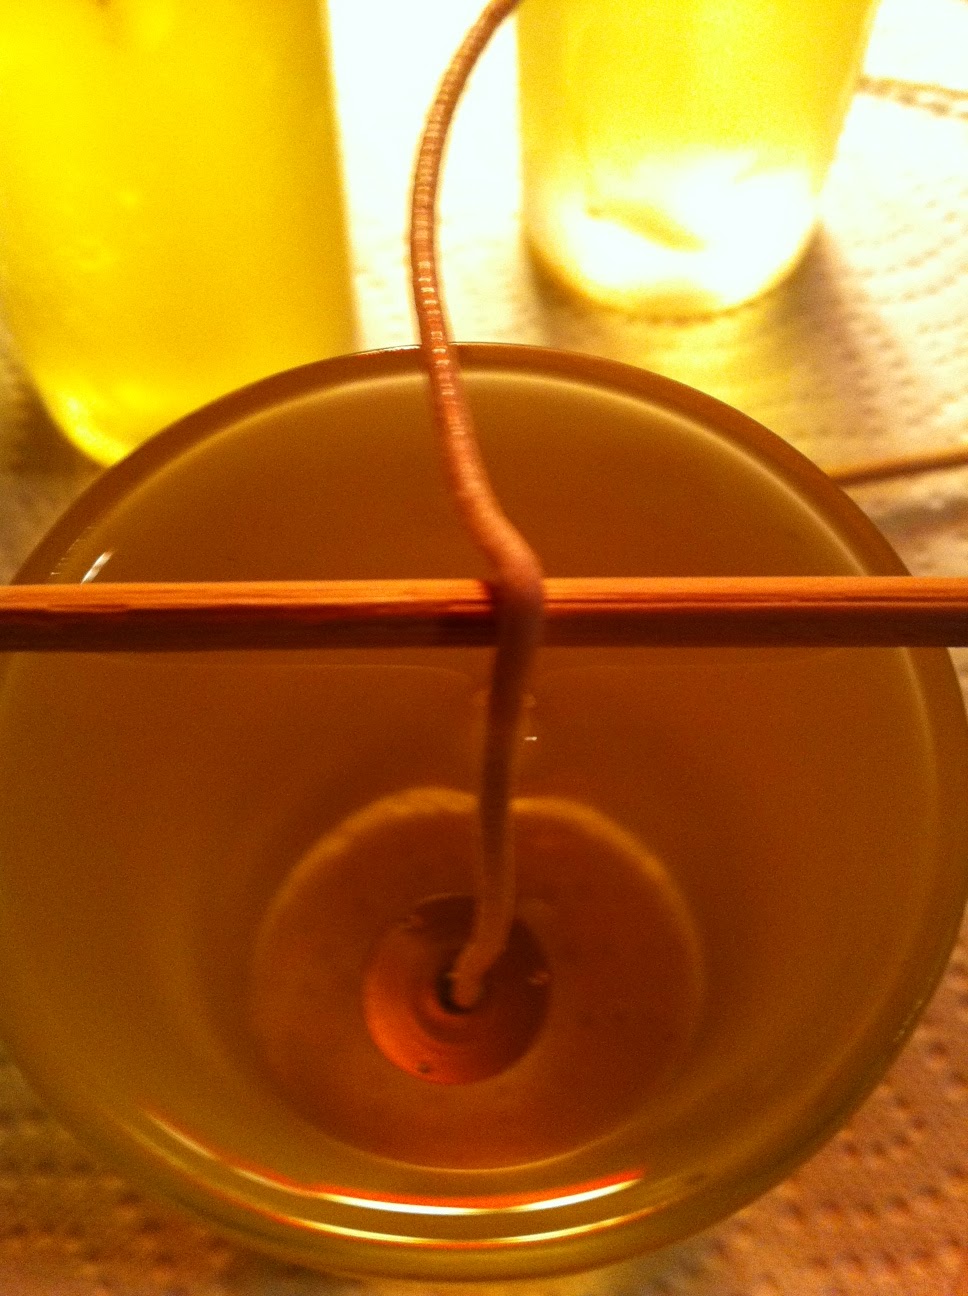
| Bending longer wicks helps |
 |
| See, it doesn't have to be perfect…just close |
At this point, walk away…gently. No jumping jacks next to the counter, or your wicks will move and fall. Now is a good time to run to the grocery store, sit down and read a book, sip a cocktail, or surf

Now, there may be bubbles or cracks in the surface depending on how fast or slow the wax cooled. DON'T PANIC! Simply take one of those "fire starter" lighters with the incredibly long barrel on them and even out the tops of the wax. It will then cool to perfection. The last step is to trim your wicks. I use my kitchen sheers for this, but any set of scissors will work as long as they are sharp. I usually leave about 1 quarter inch of wick above the wax line. Then all that is left to do is put those candles to work.
Are we all lit?
 |
| This is 2 full batches. 25 candles |
 |
| The Beauty Shot |
No comments:
Post a Comment